PO Create/Edit Screen
PO creation lets users create new Purchase Orders.
Navigation: Procurement > PO Create/ Edit > Single Location
Below are the various tabs in the Purchase Order screen:
Purchase Order
Additional Charges
User Defined Fields
Terms and Conditions
Comment History
PO tags
PO Inbound
ASN
Import
Attached Document
1. Purchase order:
Fields | Description |
Vendor Code | The user must fill in the vendor code of the vendor to whom this PO is created. Beside this field, there is a button that lets the user select a vendor from a list of vendors. |
Delivery Location | The user needs to select a particular delivery location where the items will be procured. |
PO Type | Users can select the Po type they want to create. |
Buyer code | Here the user needs to choose a buyer code who has access to create a PO for a particular category. |
Recv. Valid Code | Users can set validation for receiving items in the location. |
External PO No | This may be a PO number from an external system, if any, which can be maintained in eRetail for reference. |
Reference No | Any reference number related to a PO can be maintained in this field. |
Notes | Any additional information that is relevant to a PO can be captured in this field. |
Delivery Date | Here the user may mention the expected delivery date of the PO. |
Status | This field shows the current status of the PO. |
Discount Type | Percentage/Absolute |
Discount Value | Value of discount applied to this PO. |
Exp delivery date | This is the PO date plus Lead time. |
Expiry date | The PO status will automatically update to expired on this date and no further action/inbound will be allowed against the PO. This is calculated as a configured number of days from the Expected Delivery Date. |
Manual exp del date | If enabled, the user may manually update the Expected Delivery Date. |
2. Additional Charges:
Any additional charges (freight charge, customs duty etc) that are configured at the vendor level will be reflected here. Users may update the charges at the time of PO creation.
3. User-Defined Fields (UDFs):
User Defined Fields (UDFs) capture additional details of a PO that are not captured in other fields in the system. There are a total of 10 such fields users can use: UDF1 to UDF10.

4. Terms and Conditions:
Users may define the terms and conditions of a particular transaction. The same can be printed on the PO pdf document generated to communicate to the vendor.
5. Comment & History:
Users may add or view comments added during the lifecycle of the PO.
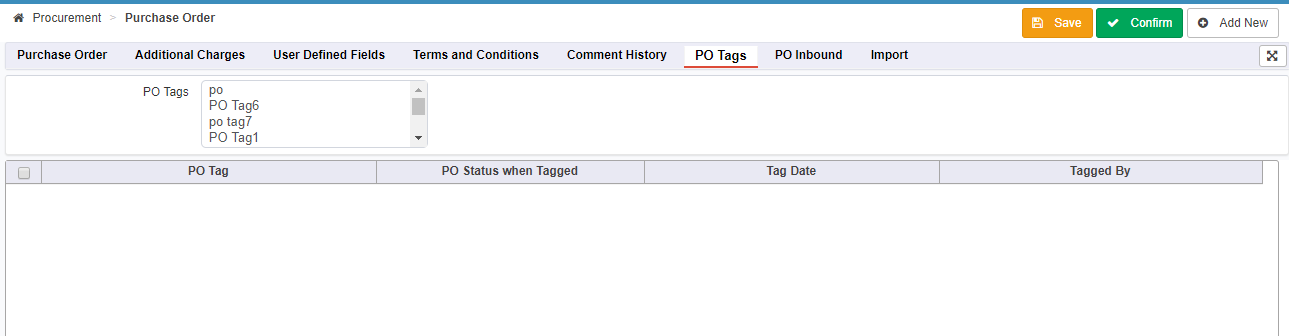
6. PO Tags:
7. PO Inbound:
Here we can check the inbounds done against the PO.
8. ASN:
Here we can view the ASNs against the PO.
9. Import tab:
If the user wants to import POs in bulk in the system using an XLSX file, they may use the import functionality.
Note: Users will be able to import up to 2000 records at a time using this functionality.
 .
.
Action Button | Description |
Download Template | When the user clicks this action button, he will be able to download a template of the import file. |
Upload template (Choose file) | After data is entered in the template file, the user needs to upload data in eRetail using this button. When the user clicks the button, a window will pop up prompting the user to upload a file from his computer. The user needs to press OK after selecting the file in the system. |
Import | After the file is selected in the system, the user needs to press the Import button to upload the data present in the file. In case of an error, users may see the errors in the same screen for records under the Remarks column. |
Reset | The reset button will clear the log messages displayed in the system. |
10. Attachment:
We can attach and remove the document.
Action Button | Description |
Save | Once the user enters all the details of a PO, he/she can save the PO draft by clicking this. |
Confirm | Once the user is ready to create the PO with respect to filled data, he/she can create the PO by clicking this button. |
Add New | To create a new PO, click on the add new button. |